Calgary homes have a very specific kind of reality: bright light when the sun’s out, cozy interiors when it’s not, and a lot of “I’ll finish that wall later” energy. And if you’ve got a canvas piece you love—but it doesn’t have clean edges, it’s not wrapped properly, or it just looks unfinished—this post is for you.
Because here’s the truth: a canvas doesn’t have to be frame-ready to be decor-ready.
Maybe it’s a printed canvas you ordered years ago. Maybe it’s a painting you bought at a local market. Maybe it’s your kid’s artwork on canvas. The front looks great… but the sides are rough, the staples show, or the image doesn’t wrap nicely around the edges.
This week’s DIY log is all about how to use canvas in different ways, so you can actually hang it up (or style it) and enjoy it—without pretending those edges are “part of the look.”
1) Float-frame it (the easiest instant upgrade)
If you want your canvas to look like it belongs in a gallery (or at least like you have your life together), a float frame is the cleanest solution.
Why it works: the frame surrounds the canvas with a small gap, so the edges aren’t the focus.
Best for: paintings, printed canvas, meaningful photos you want to elevate.
Calgary tip: if your canvas edges are messy, paint the sides matte black before framing. The shadow gap hides everything and looks sharp in modern Calgary interiors.
2) Add a simple wood “cap” trim (hides ugly edges fast)
If the front is beautiful but the sides look rough, you can hide the edges with thin wood trim.
How it works: measure the depth of the stretcher bars, cut trim pieces, and attach around the perimeter (wood glue + brad nails).
Look: clean, modern, custom.
Best for: canvases with staples showing or uneven wrap.
This is one of those DIYs that looks way more expensive than it is.
3) Wrap the sides with fabric (soft, cozy, very forgiving)
This is perfect if the edges are damaged or you want a softer look.
How: choose a neutral linen/cotton fabric, wrap it around the sides, and staple it neatly on the back.
Style: warm, textured, intentional.
Best for: cozy living rooms, bedrooms, farmhouse or “soft modern” decor.
Bonus: fabric hides imperfections better than paint.
4) Mount it to a rigid backing and frame it (yes, you can)
If your canvas is thin (or it’s a canvas sheet without stretcher bars), you can mount it and frame it like a print.
How: attach the canvas to foam board or a thin wood panel using mounting adhesive, then place it in a deeper frame.
Best for: canvas prints that feel floppy or unfinished.
Tip: choose a frame with enough depth so it doesn’t press on the canvas surface.
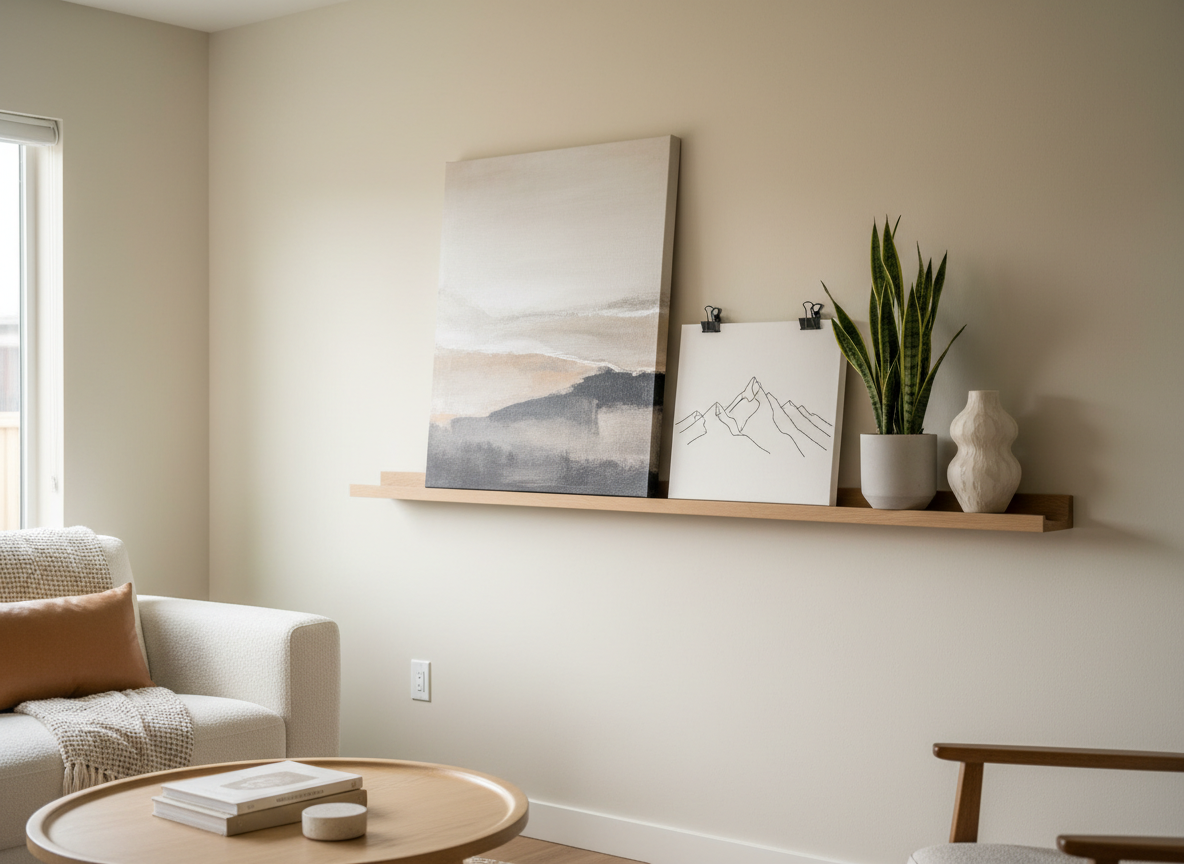
5) Lean it instead of hanging it (no holes, no stress)
Leaning art is a cheat code—especially if you’re renting, indecisive, or just tired.
Where it works:
- on a mantel
- on a shelf
- on a console table
- on a picture ledge
Why it works: the eye focuses on the image + styling, not the edges.
Calgary-specific bonus: leaning art is easy to swap seasonally (winter cozy vibe vs summer bright vibe) without re-hanging anything.
6) Use a picture ledge (rotate canvases weekly)
If you like changing things up, picture ledges are perfect.
Why it’s great: you can rotate canvas prints without measuring, drilling new holes, or committing forever.
Best for: hallways, staircases, home offices, kids’ spaces.
Styling tip: layer 2–3 pieces (one canvas, one framed print, one small object). It looks curated instantly.
7) Clip-hang it for a modern “studio” look
For canvas sheets or thin canvas art, clip-hanging looks surprisingly clean.
Tools: wooden poster hangers, bulldog clips, clamp rails.
Look: modern, artsy, minimal.
Best for: abstract art, sketches, painted canvas sheets.
This is especially good if you want a relaxed vibe in a home office.
8) Paint the edges (the fastest fix that looks intentional)
If the only issue is raw canvas edges, just paint them.
Best edge colours:
- matte black = modern and crisp
- white = clean and airy
- match a dominant colour in the image = custom and cohesive
Tip: tape the front edge so you don’t accidentally mark the image.
This one change can take a canvas from “unfinished” to “intentional” in 20 minutes.
9) Make it part of a mini gallery wall (so it doesn’t stand alone)
If one canvas looks awkward by itself, grouping solves it.
Pair it with:
- a second canvas in the same colour palette
- a framed photo
- a small shelf + plant
- a mirror
When the wall becomes a composition, nobody stares at the edges.
Quick “choose your method” guide
- Want it to look expensive? Float frame
- Edges are ugly/damaged? Wood trim cap or fabric wrap
- No drilling? Lean it or use a picture ledge
- Thin canvas sheet? Clip-hang or mount + deep frame
- Fast + cheap? Paint the edges
Weekly DIY challenge
Pick one canvas you’ve been avoiding because it isn’t frame-ready.
This week, do one upgrade:
- paint the edges, or
- lean it on a shelf with simple styling, or
- add it to a mini gallery wall.
Next week, upgrade another one. That’s how you end up with a home that feels curated—without doing a full redecorating overhaul.
Ready to turn your photos into real wall art?
If you’re in Calgary and you want wall art that looks premium (without the glare of glass frames), canvas is one of the best ways to do it. Choose one photo you love, pick a size that fits your wall, and create something you’ll actually enjoy seeing every day.
Order Now and create your custom canvas print today.