Printing your favorite photo on canvas, paper, or any other material is exciting—but it can also be frustrating if the print doesn’t look as good as it did on your screen. A common question people ask is: “How do I know if my image is good enough to print?”
The truth is, you can check the image quality right from your own computer or laptop monitor, without needing professional tools or software. In this blog post, we’ll show you exactly how to use your monitor to preview your photo quality and ensure it’s print-ready—whether you’re ordering a canvas print, poster, or framed photo.
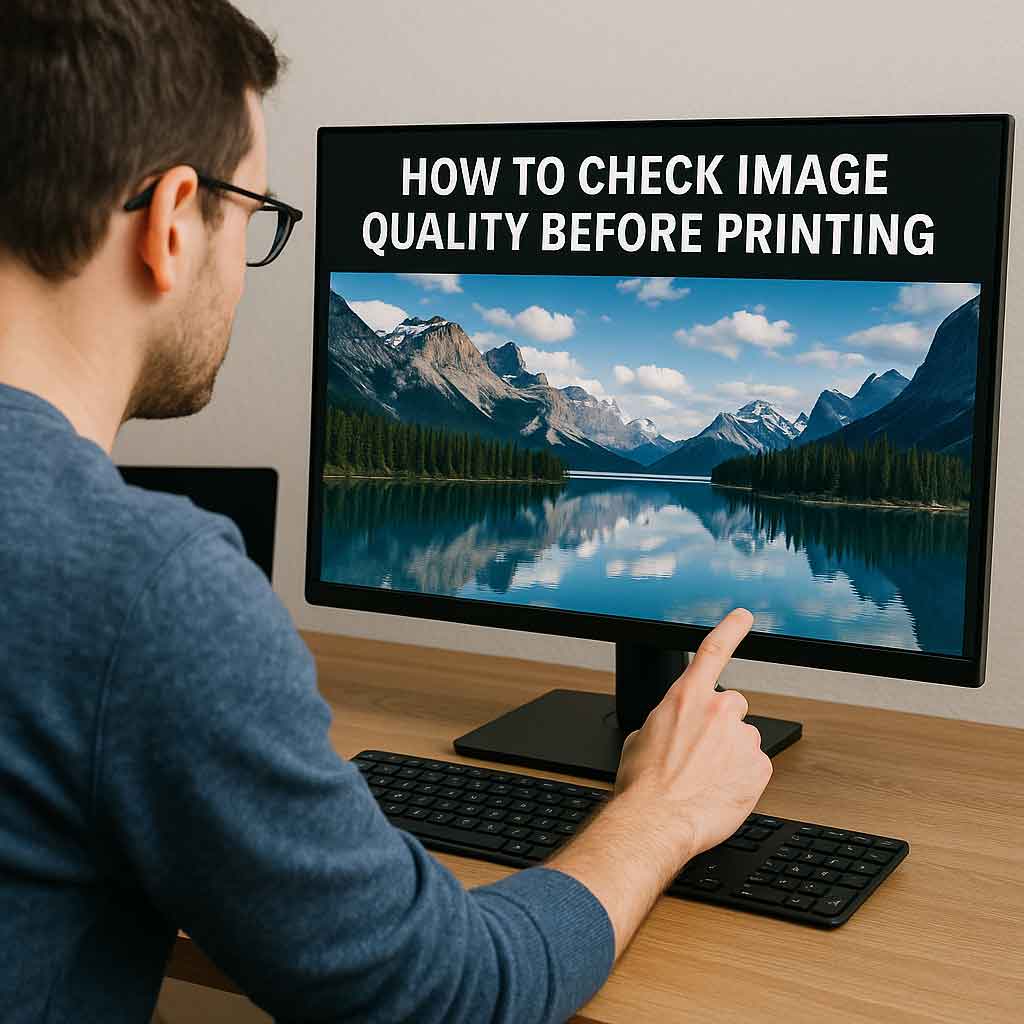
Why Checking Image Quality Before Printing Matters
Before we jump into the “how,” let’s talk about the “why.”
When you send a photo to print, especially in large formats like canvas prints, the printer needs a high-resolution file to reproduce details without pixelation or blurriness. If your image is too small or of poor quality, the printed result may look soft, grainy, or distorted.
By previewing the image on your screen at the right size and zoom level, you can catch issues before they cost you money. This is one of the most important photo printing tips professionals follow—and now you can too.
Step 1: Know the Print Size You Want
The first step in checking image quality for printing is to know the final print size you plan to order. Are you printing a 12×16-inch canvas, a 24×36 poster, or a small 8×10 framed print?
Write that down. The image quality you need depends on the physical dimensions of the final product.
Step 2: Check the Image Resolution (DPI)
Next, you need to know your image’s resolution, measured in DPI (dots per inch) or PPI (pixels per inch). Most high-quality prints require at least 150–300 DPI at the final print size.
Here’s a quick formula:
Pixels ÷ DPI = Print size (in inches)
So, if your image is 3000×4500 pixels and you want to print at 300 DPI:
- 3000 ÷ 300 = 10 inches
- 4500 ÷ 300 = 15 inches
➡️ You can print up to 10×15 inches with excellent quality.
If you’re not sure about the pixel dimensions, right-click the image file > Properties > Details (on Windows), or Get Info (on Mac).
Step 3: Zoom to 100% or Print Size on Your Screen
Now it’s time to actually use your computer monitor or laptop screen to visually inspect the image.
- Open the image using a program like Photoshop, Preview (Mac), or Windows Photo Viewer.
- Set the zoom level to 100%. This means one image pixel equals one screen pixel.
💡 If your photo looks blurry or pixelated at 100%, it will likely print that way too.
Bonus Tip:
If you’re using Photoshop, go to View > Print Size to simulate how the image will look at the actual print size.
If you’re using a web browser, just drag and drop the image into a new tab and zoom until it matches the size you want on your wall. This method is simple and effective.
Step 4: Look for These Red Flags
While viewing your image at 100% zoom or print size, check for:
✅ Sharp focus: Eyes, details, and edges should be crisp.
❌ Noise or grain: Especially in low-light photos.
❌ Artifacts: Weird blocks or blurs from over-editing or AI filters.
❌ Compression: Signs of quality loss from saving as low-res JPEG.
If any of these show up, your image may not be suitable for large printing without enhancement.
Step 5: Calibrate Your Monitor (Optional but Ideal)
To get the most accurate view of your image, consider monitor calibration. Most screens are too bright or oversaturated, which can make your image look better than it actually is.
Here’s how to calibrate:
- Use built-in tools like Display Color Calibration on Windows or ColorSync Utility on Mac.
- Or use a physical calibration tool like Datacolor SpyderX or X-Rite ColorMunki.
This step is especially important for professional photo printing or color-sensitive prints.
Step 6: Use Soft Proofing (Advanced Users)
If you’re printing with a professional lab or doing fine-art canvas printing, ask your printer for an ICC profile. This is a file that simulates how your image will look on their printer.
In Photoshop:
- Go to View > Proof Setup > Custom
- Select the ICC profile
- Toggle “Simulate Paper Color” and “Simulate Black Ink”
This helps you adjust colors and brightness for a better print result.
What Image Quality is Good for Printing?
Here’s a simple guide:
| Print Size | Minimum Pixels | Recommended Quality |
|---|---|---|
| 8×10″ | 1200×1500 | Very Good (300 DPI) |
| 12×16″ | 1800×2400 | Very Good (300 DPI) |
| 16×20″ | 2400×3000 | Very Good (300 DPI) |
| 24×36″ | 3600×5400 | Very Good (300 DPI) |
| 30×40″ | 4500×6000 | Excellent (300 DPI) |
For canvas prints, you can often go a little lower (150–200 DPI), because the texture hides fine details.
Bonus Tip: Test Print at Home
If you have a home printer, print a small crop at 100% size (for example, a 4×6” section of your image). This gives you a real-world preview of detail, sharpness, and colors.
Final Thoughts
You don’t need to be a professional to get professional-looking prints. With a few simple tricks, you can use your own monitor to check image quality before printing—saving yourself from disappointment and wasted money.
Remember:
- Zoom to 100% to preview sharpness and clarity
- Know your image resolution and match it to your print size
- Calibrate your monitor for more accurate previews
- Check for noise, blur, and compression before uploading
If you’re preparing for a canvas print or photo gift, checking these things first ensures your photo looks amazing once it’s up on the wall.
Ready to Print?
Once your image passes the test, upload it to your favorite photo printing site (like Canvas Prints Calgary 😉) and bring your memories to life.
Whether it’s a vacation photo, family portrait, or custom artwork—checking your image on your screen is the first step toward a beautiful print.